A few weeks ago, during an DIY’s evening at Dawanda’s I learned to crochet. The time I take my courage in both hands and here I am, launched with my first crochet to hook alone. For the pattern, I fell in love with a beany found on the blog of the lovely Ami who is fan of hook,more than one year ago. Th epattern is originally proposed by another blogger named Vickie Howell who put it on Ravelry. Well, the pattern is in English but even I, who is a pure beginner on crochet I succeed but as I have some slightly modified the original pattern so here are some details.

To start, I made 9 chains that I crocheted with tight stitches to make the headband.

I continued hooking the headband for 56cm which corresponds to my head circumference. Once the headband finished, I assembled the two ends to form the band.

Before starting the puff stitch I crocheted tight stitch, in horizontal this time. It allowed me to have a clearer basis for the next step.

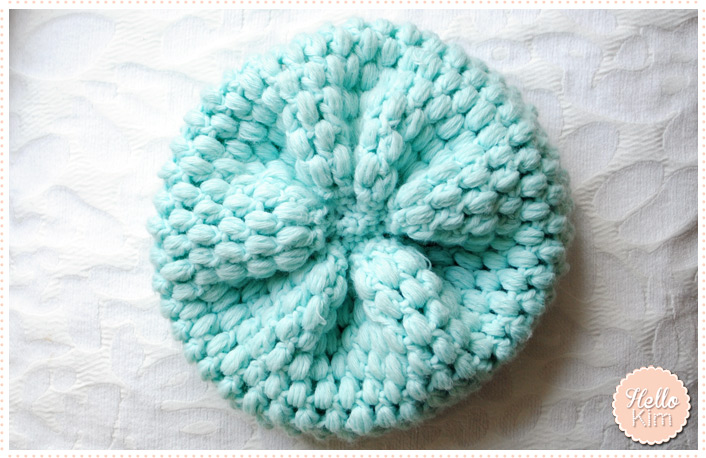
After 12 rows of puff stitch I closed the cap with tight stitches. And that’s it!


For that beany inmint green, I used a wool purchased at Phildar’s: Partner 6 in Jade color and I needed 3 balls that I crocheted with a hook 5. Yes you read that right: three balls of yarn for only a beany. What you should know is that the puff stitch is very consumer of yarn but the hook is so thick and it’s very fast. So fast that I wanted to do another one, pastel yellow this time.


This pastel yellow beany is a little different because I made a smaller band and because I made 15 rows of puff stitch, it is more falling. For information, here the yarn is finer for a hook 3-3.5 but I used a hook 4.


And when I showed it to my sister, she asked me to make one for her. As it was the weekend before Christmas, I hurried to a third beany, grey this time. So from Friday to Monday, I could finish my first mint green beany and make two other beanies! So what do you think?


* * *
Edit of mai 18th, 2013
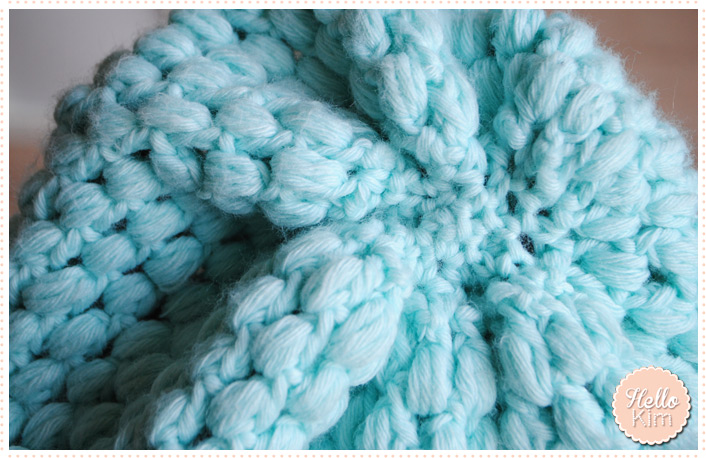
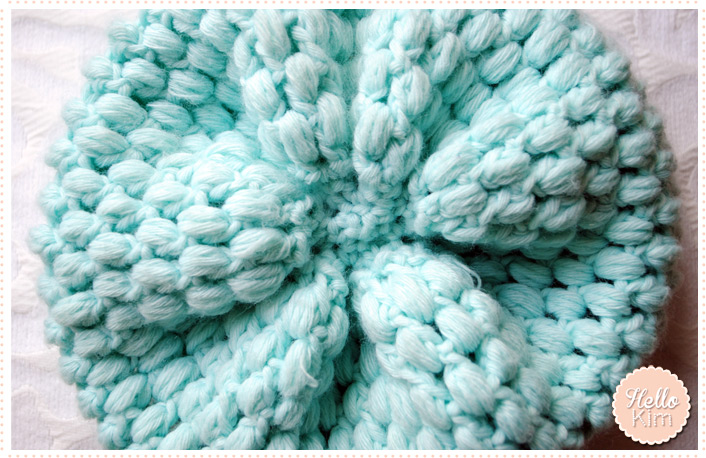
A few weeks ago, a reader asked me some details on how to close the beany. So here are some additional photos for a closer view.
So I don’t know how to explain clearly because again, this is my first hook and I’m not sure I use the correct vocabulary. Anyway, to close, I used tight stitches and as the distance between each point is big with puff stitch, you have to do it really tight …


