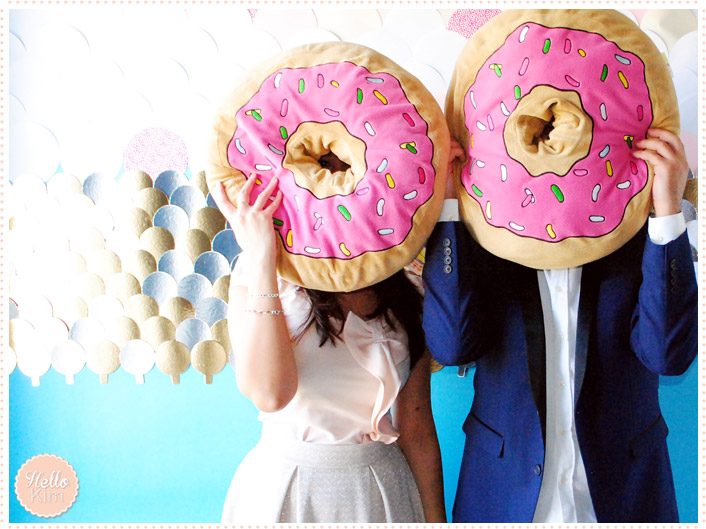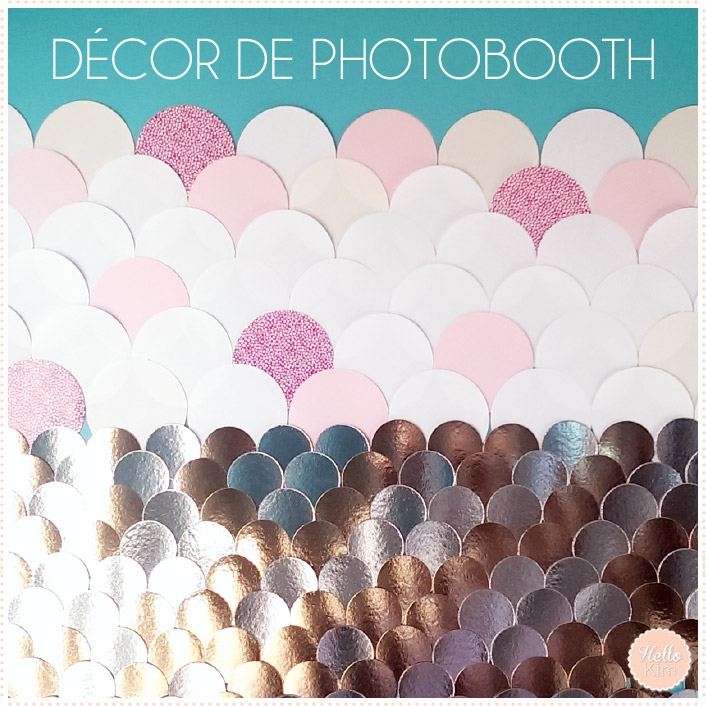
To make the backdrop for the photobooth of my 30th birthday, I was inspired by photos and tutorials of 2 different blogs but with the same principle: the accumulation of round colored papers. The first stage for photobooth proposed to pin small gold rounds and the second was a bit more colorful with round paper in a larger diameter and superimposed to make mermaid scales. The first one really appealed to me but I didn’t find any gold paper … I probably seek in the wrong way but impossible to find a roll at an affordable price. I finally bought rounds for pastry that I ordered online. Being a bit stuck on the tutorial of ohhappyday.com, I focused on small diameter round but then, 200 rounds of 8 cm don’t cover a large area …! So I decided to complement with large round papers.
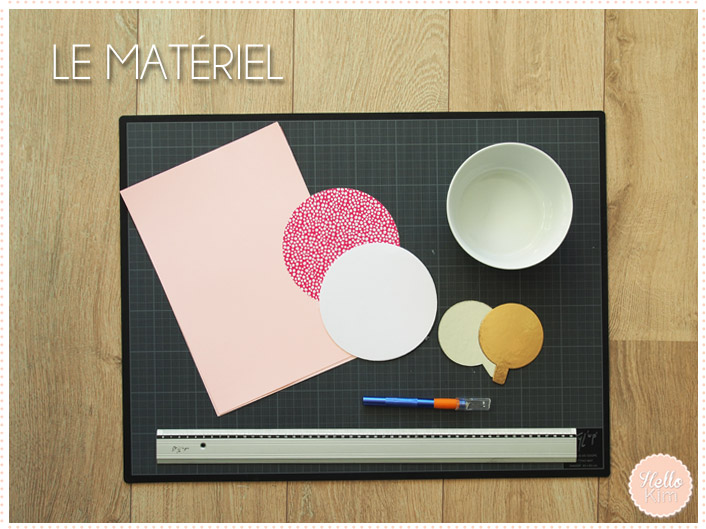
Shopping list :
– Paper, colored or not, patterned or not
– A cutter to cut quickly. Scissors can be used but it will last longer
– Support for cutting if you use a cutter
– A round bowl used as template as this one from Brakig collection of IKEA
– Patafix to install the decor
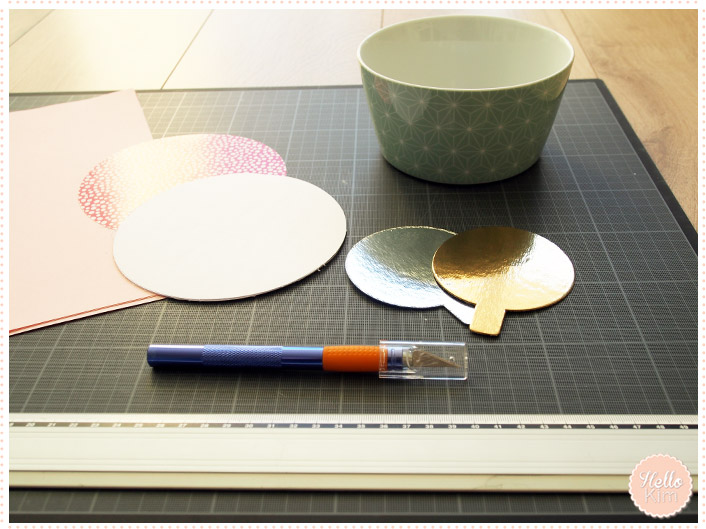
For cutting round shapes I folded the paper in two sheets then I laid it flat before putting the bowl above. Holding the bowl firmly in place, I drew the outline of the bowl with the cutter. And that’s it! According to the surface to be covered, cut a necessary number of rounds but take into account the fact that row will be superimposed half.
For stick the rounds on the wall, I used the Patafix to not damage it. I just followed the instructions in the Poppytalk blog. Well, all is not as well made as the example but I will improve with time! As I have a beautiful blue wall, I did not completely covered it but I left the lower part discovery.
nd here is the result! A little photo as teaser and the rest will come very soon.
