Since I’m knitting, I never really followed a model. I often started from my knowledge and then develop models for which I had the potential to achieve. And I must say that I am not very comfortable with the explanations of models that are often not detailed enough for me for my level of understanding. Today I want to share with you my approach. I tell you right now, I do not pretend to give you rules but rather it is to share my way. And with that, we can share about it and you can correct me if you think I’m not the right way to go! In what follows, we will assume that it is done for simple items like scarf or snood.
1. The choice of the stitches
• My greatest source of inspiration for the choice of the stitches is my bible knitting: « 400 points de tricot » from Marie Claire Editions.
• I also have some other books and magazines of knitting pattern I like flipping occasionally
• Otherwise, I’m on Pinterest and for those interested, I created a table dedicated to knitting and crochet inspirations. I’ve never reproduce model seen in this aggregator but it gives me some ideas.
• And then there is also the multitude of sources of inspiration are all these wonderful DIY blogs!
2. The yarn
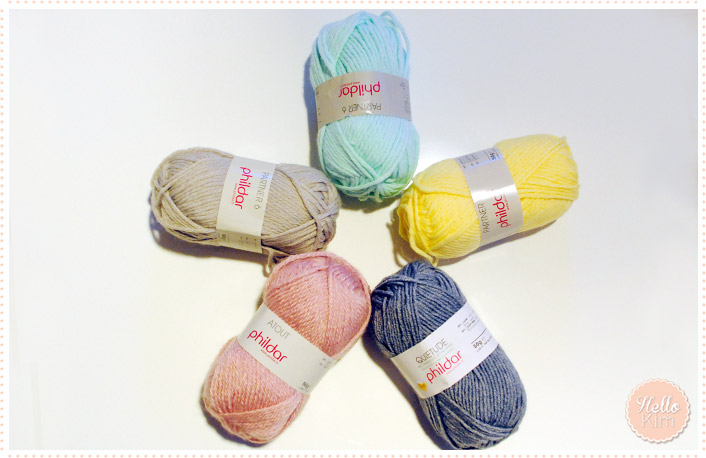
Unlike some of you I’m sure, I buy yarn balls from crush, without a project in mind. It’s the wool, its color, its thickness, and its material that often inspire me. So, I have a whole collection of balls of different colors. The problem with this approach is that I often buy too much of balls. When buying I do not know for what project the wool will be used and I’m afraid to find myself over when making a project. I could always buy some extra balls, but there is the problem of bath color and the end of collection that are no longer sold! And that is my fear of starting a project and could not finish for reasons of stock. To facilitate your purchases in the models I created and put at disposal, I mention the number of balls used with estimates of length.
3. Sample and cross multiplication
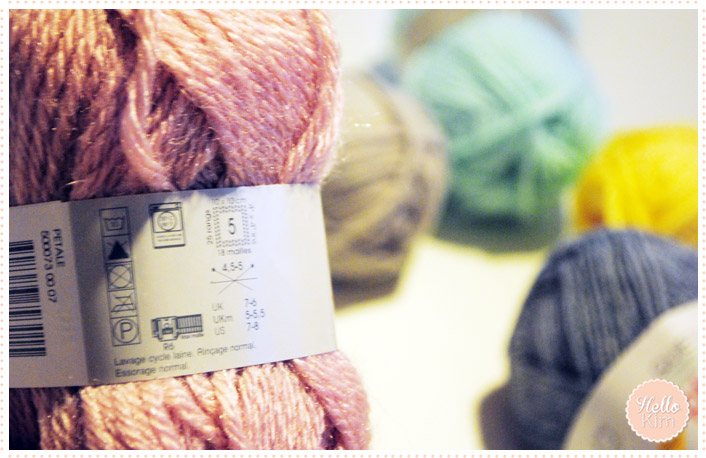
Once in my thought process I choose one or more stitches and the wool, I make a sample. Many say that this is a necessary step and I totally agree and even for scarves or snoods.
• Thanks to the sample you can realize the rendering wool once knitted and sometimes the wool does not render well with some points.
• The sample sometimes leads to overcome the needle size recommended for the desired rendering more or less tight.
In the example below, the first sample on the right was knitted with needles 7 as recommended wool. The result is very good but I wanted some thing with a better grip, a little less flexible, I made another sample with 5.5 needles (sample left).
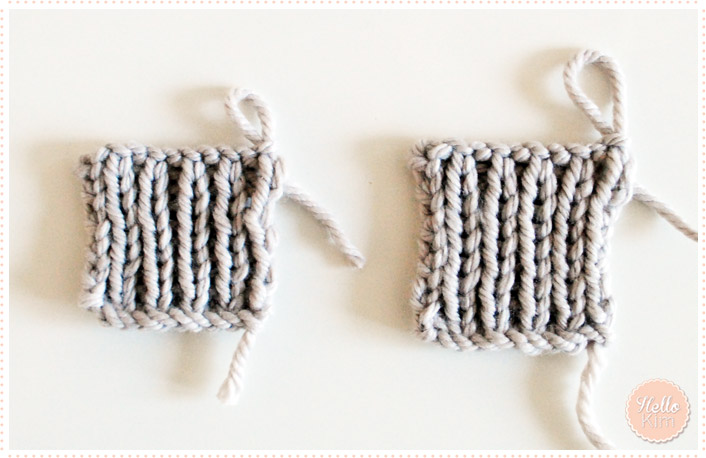
For the sample, I usually cast on the recommended number of stitches in the information provided in the wool label and I knit in the selected stitch.
• Once my square is knitte, I measured it and I put the number of centimeter obtained in relation to the number of chaines of row. It lets me know how many chaines you have to cast on to get 1 cm knit. Eg. If 15 cast on chaines for my square measuring 10cm, so it needs 1.5 chaines to 1cm mesh fabric (15 m./10cm = 1.5)
• From this information, I can determine the number of chaines to cast on for a work of desired width. Eg If I want to knit a 25cm width, I must cast on 37 or 38 chaines (15 m / 10 cm x 25 cm = 37.5.) Since my last model, I added the details for a sample.
4. Diagram There are simple knits with single stitch that does not require much concentration, and then there are some with twists and / or changes in the stitches where we have to count the stitches and rows. To make things clear, for some time I draw my models on a grid in which there is a numbering rows vertically and chaines horizontally.
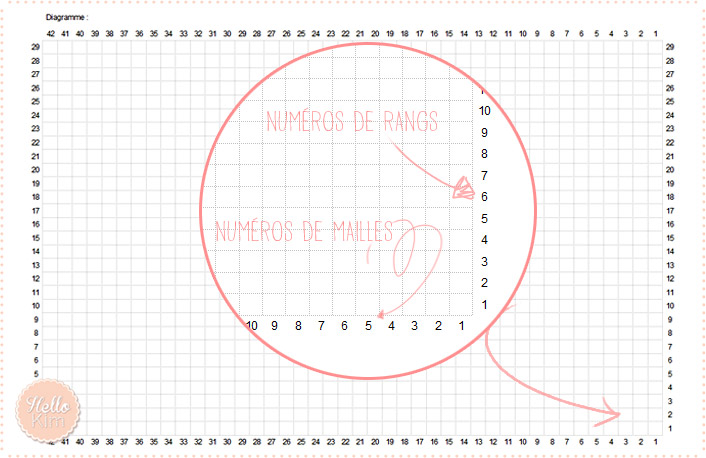 Blank diagram to download here
By habits, I follow the same codes than on the book 400 points de tricot with:
– Reading from right to left and from bottom to top. We begin with coordinates (1, 1).
– I use the symbol « | » to knit a stitch when you’re in the front of work and knit a purl stitch when you’re in the back of the work
– I use the « – » sign to knit a purl stitch when you’re at the front of work and knit when you are in the back of the work
This is the kind of thing that is mandatory to me for models like the Carole snood in which the sequences change at all ranks. And knits a little less complicated but require counting as with twists, it allows to obtain bearings. All my latest models consist of detailed explanations, followed by a diagram. And voila!
Everything is ready to begin a new adventure with new knits!

